Implement & Enable Clef 2FA to Securely Login WordPress without Password
2FA (two-factor authentication) is a recommended and increasingly popular way to secure a system or web app. For WordPress, security is utmost as WordPress hosted website is always connected to Internet, and subjected to brute-force attack where the hackers try to gain access to administration panel by guessing your user name and password.
2FA works by adding an additional layer of security in the form of requesting an one-time password (OTP) dynamically generated and provided through either SMS text message, hardware token, software token via app installed on smartphone or tablet computer and etc, to verify that you’re the rightful owner of the account before access is granted.
There are many provider of 2FA service in the market today. We previously covered how to implement 2FA in WordPress with Authy. Now we try another service provider, Clef. Clef is slightly different from typical 2FA in that it can replace insecure passwords and cumbersome one-time codes with the beautiful Clef Wave. In other words, instead of having to type user name, password, and secret OTP code, user just need to use the camera on the trusted phone’s Clef app to scan the Clef Wave on the service which he or she wants to access to authenticate. Essentially, Clef is logging into the website on behalf of users. In the nutshell, Clef is also mimicking the Single Sign-On (SSO) feature with a twist – added security measure. If you have many accounts from different services and apps that use Clef, you can just use Clef Wave to login to all of them, without the need to remember individual password. Think of it as Authy/Google Authenticator plus a password manager.
Features of Clef Two-Factor Authentication:
Clef Wave: login securely without passwords using the tried-and-true RSA public-key cryptosystem, and enjoy two-factor protection without one-time codes.
Convenience: use your smartphone for strong authentication instead of a “third device” such as a USB drive or extra security key.
Single sign on/off: Sync with the Clef Wave once, then enjoy one-click sign ins for all subsequent sites. Also, you are automatically logged out when you’re done working.
Clef stores your encrypted private key on your phone rather than in a central cloud database, in your own control.
Every Clef login requires two identification factors: your phone and a fingerprint or PIN. So even if your phone is lost or stolen, you’ll be safe.
Comprehensive yet flexible protection: Clef can disable passwords for all three WordPress authentication vectors: Dashboard access, API access, and automatic password resets via email. Thus it protects against the full spectrum of password-based attacks:
brute-force and botnet login attacks
weak, reused, and recycled passwords
sending login credentials via an insecure (non-SSL) connection
password phishing attempts
account takeovers via email account breaches
Shortcode support: insert Clef’s “login with your phone” button or the Clef Wave in any post, page, or text widget using the clef_render_login_button shortcode.
Standards-based compatibility: Clef’s WordPress plugin adheres to WordPress coding guidelines and is thus compatible with most mainstream plugins.
Multisite network support.
How to Install and Enable Clef Two-Factor Authentication for WordPress
If you have never used Clef before, download and install Clex app. Otherwise skip step 1 to 7.
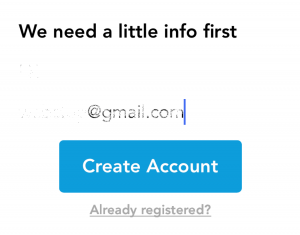
Enter the first name and email for registration, then Create Account.
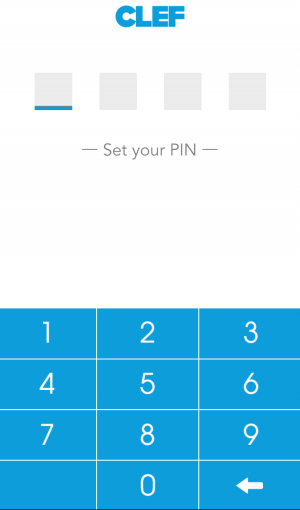
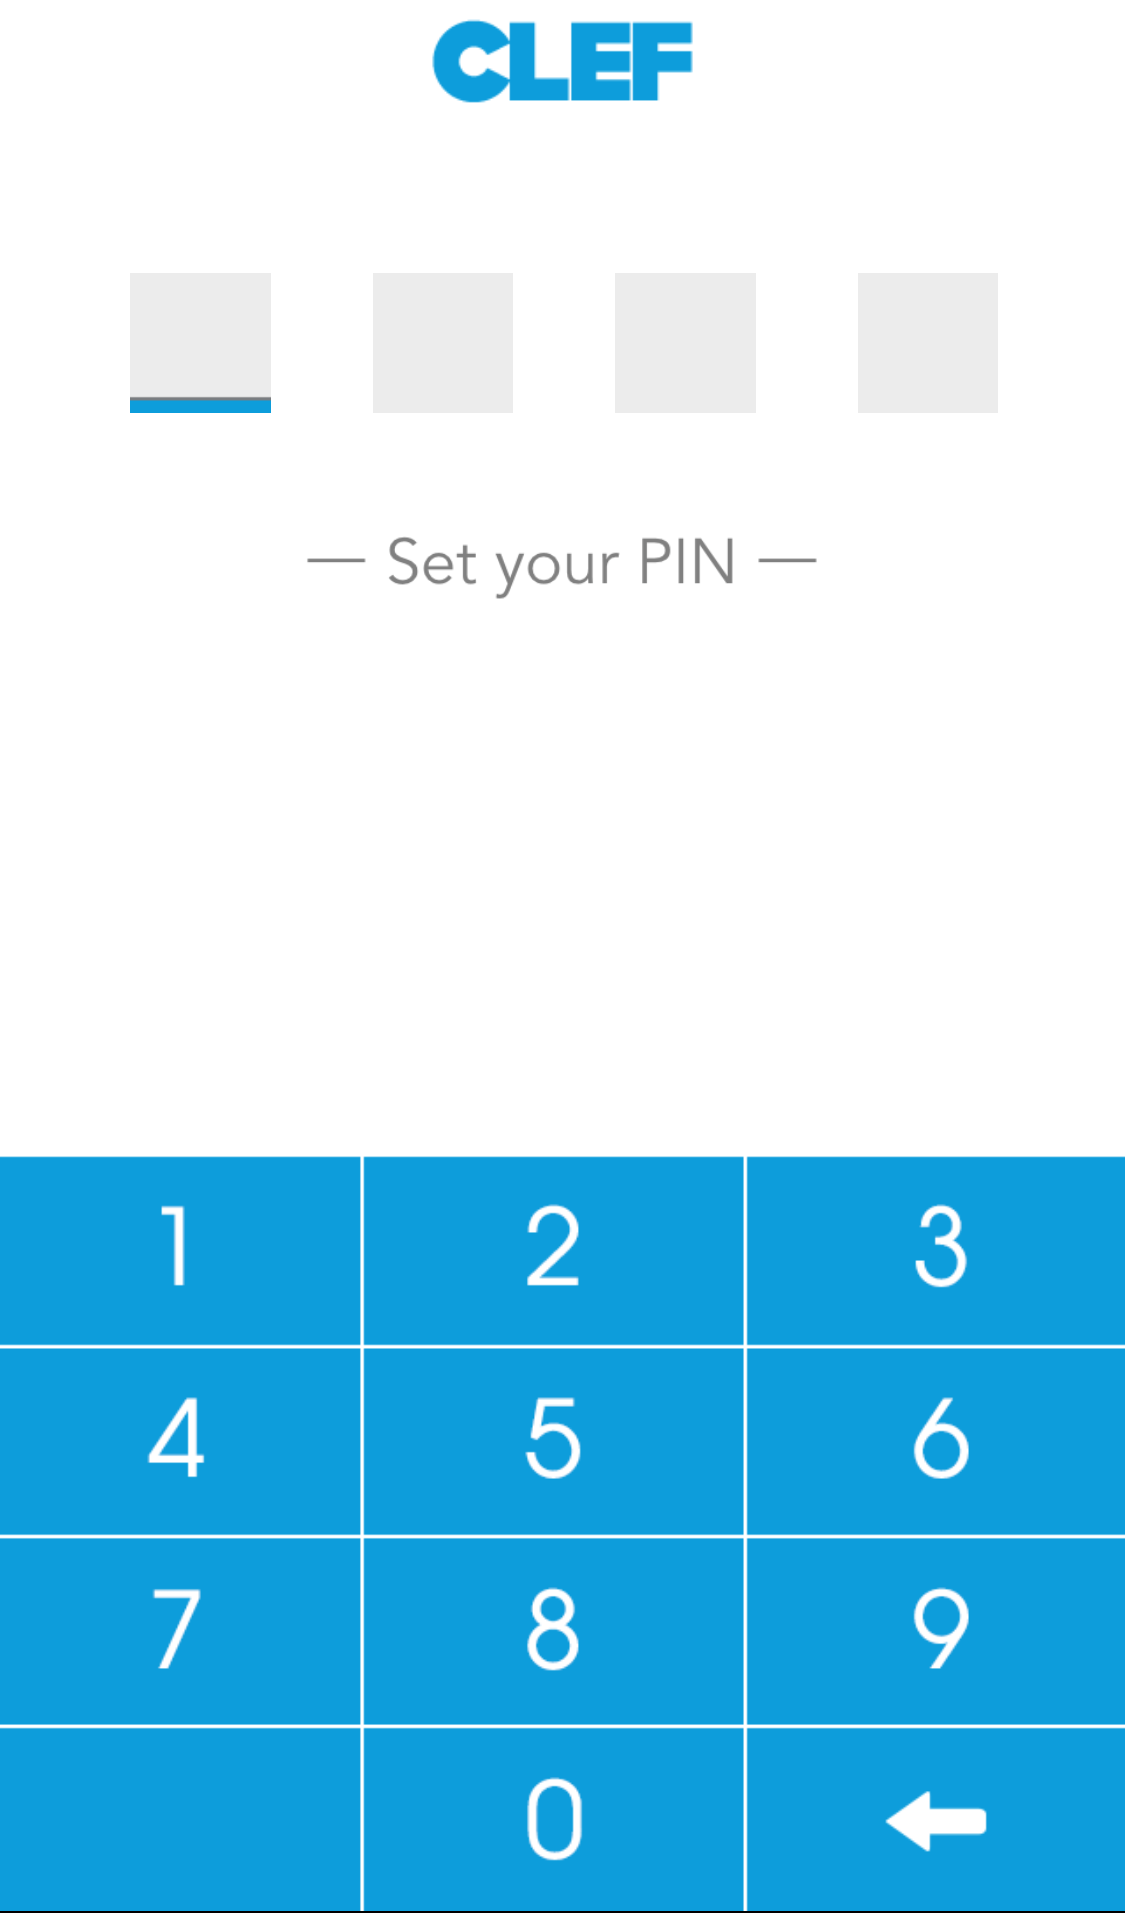
Set a PIN code for Clef, used to unlock the app and for recovery:
Check your mailbox for email verification link. Click on it to verify your email. Then, tap on Confirmed on the Clef app.
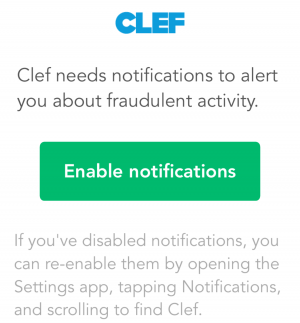
Enable and allow the Clef app to send your notification to receive alert about fraudulent activities.
The Clef mobile app setup is done. Now we’re going to set up Clef on WordPress site and sync with personal Clef wave.
Login to WordPress administration panel as administrator / admin.
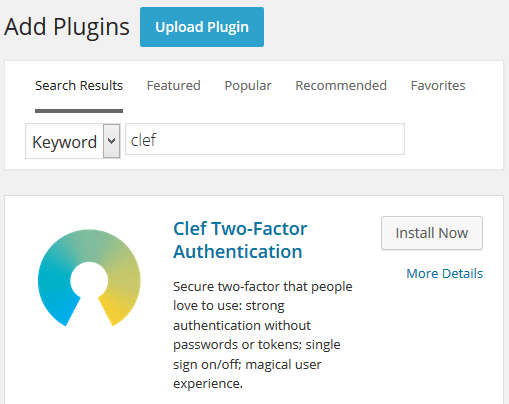
Go to Plugins -> Add New, and search for Clef. Click on Install Now button of Clef Two-Factor Authentication developed by “Clef” to install the Clef plugin on your WordPress site. When asked “are you sure you want to install this plugin?”, click OK.
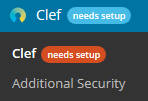
After installation completed, activate the plugin.
It will automatically redirect you to the Clef administration page. If not, click on Clef (needs setup) on the WordPress menu.
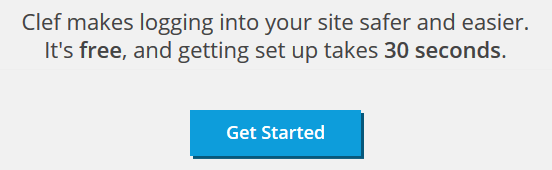
Click on Get Started button.
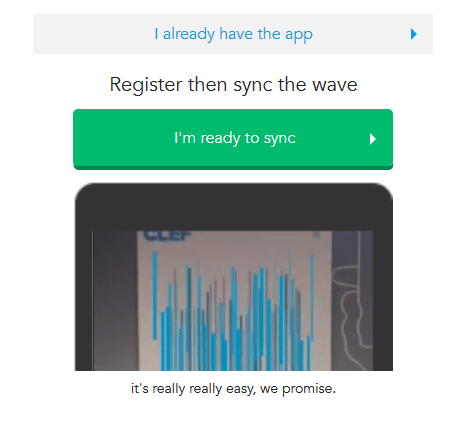
Click I already have the app. If you not yet have Clef app installed and registered, start from step 1.
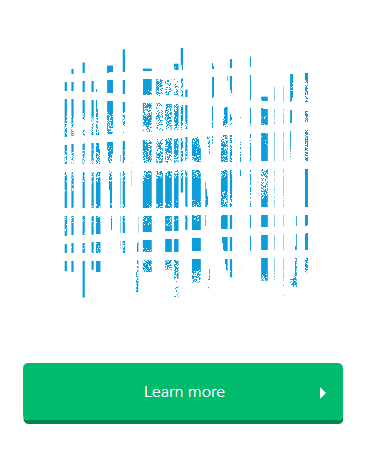
A Clef Wave will be shown on the screen. Hold up your phone with Clef app opens, and sync the Wave on your phone with the Wave on the screen.
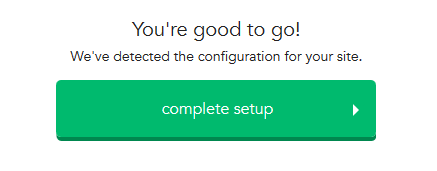
Click on complete setup.
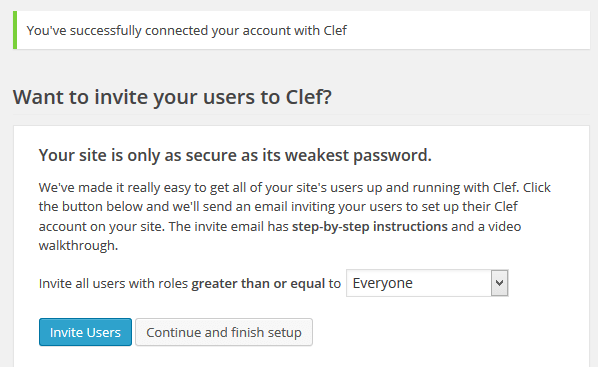
Set the lowest user role which allows to use Clef to login. You can also send email to invite others to use Clef if you wish. Click Continue and finish setup when done.I
Remember the tips on using Clef:
1. Sync once, log in everywhere.
When you scan a Clef Wave, you’ll be logged in to all of your sites on that computer. This means you don’t have to keep scanning as you browse the web.
2. Log out with your phone.
When you want to log out of your sites, click the logout button on your phone. This will log you out of all of your sites and can be done from anywhere (including after you walk away).
3. Lose your device?
If you lose your device, don’t fret! Just visit getclef.com/lost, deactivate with your PIN, and reactivate on a new device.
Click Got it! when done.
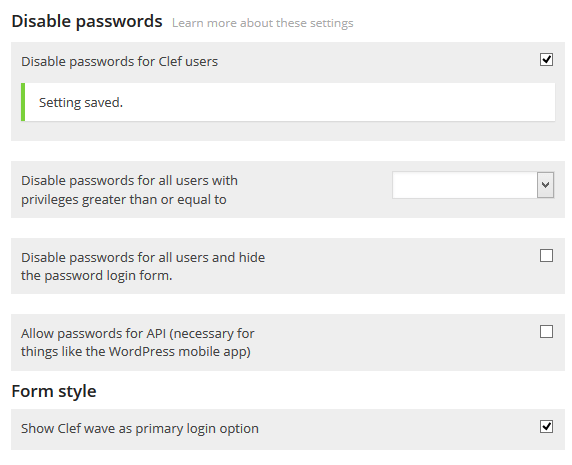
Last but not least, check the Disable passwords for Clef users checkbox, a minimum recommendation, so that users who use Clef must login through Clef.
Note
If you don’t disable the password login, users can choose to login either through standard login form (without 2FA required which defeats the purpose of Clef), or through Clef Wave.
You can also choose to disable passwords for all users with privileges greater than or equal to a user role, or disable passwords for all users and hide the password login form.
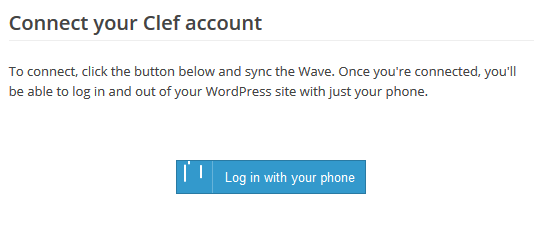
Other users on the WordPress site who want to use Clef two-factor authentication and single sign-on (SSO) feature can sync their Clef Wave account via Clef -> Connect Clef account. Then, click the Log in with your phone button and sync the Wave. Once you’re connected, you’ll be able to log in and out of your WordPress site with just your phone.
Clef is free without premium features for unlimited logins and users.
LK is a technology writer for Tech Journey with background of system and network administrator. He has be documenting his experiences in digital and technology world for over 15 years.
Connect with LK through Tech Journey on Facebook, Twitter or Google+.

 NoteIf you don’t disable the password login, users can choose to login either through standard login form (without 2FA required which defeats the purpose of Clef), or through Clef Wave.


 To Secure Self-Hosted WordPress Login with Authy")


