Something Has Gotten Mixed Up in siteurl & home of Jetpack
After upgrading to Jetpack 3.5 and/or WordPress 4.2 on a site using Jetpack plugin, you may see the following notification message appears in WordPress administration area when you’re creating posts, editing posts, listing all posts, checking updates, changing settings, performing backup and about everything else:
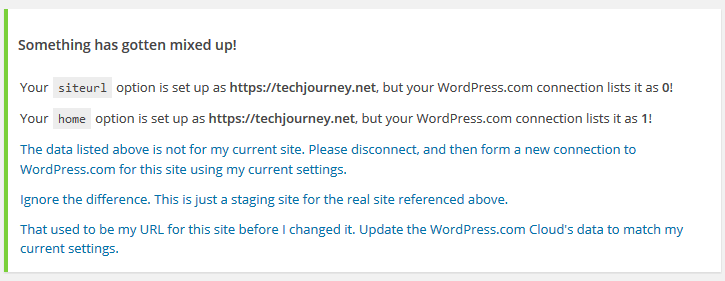
Something has gotten mixed up!
Your siteurl option is set up as https://techjourney.net, but your WordPress.com connection lists it as 0!
Your home option is set up as https://techjourney.net, but your WordPress.com connection lists it as 1!
The data listed above is not for my current site. Please disconnect, and then form a new connection to WordPress.com for this site using my current settings.
Ignore the difference. This is just a staging site for the real site referenced above.
That used to be my URL for this site before I changed it. Update the WordPress.com Cloud’s data to match my current settings.
You’re given 3 options, where the first one disconnect your site from WordPress.com and then bring you to Jetpack plugin to authorize the Jetpack connection to WordPress.com again, while the other second and third options do not actually do anything to fix the issue or remove the warning message.
It appears to be a bug with the Jetpack, and the developer is known about it. And luckily, it appears to do no harm and all functionality of Jetpack continues to work. While waiting for the Jetpack team to fix the issue and release the fix in the next Jetpack release, you can follow suggestion from one of the developer team to resolve the issue:
Go to Jetpack menu in WordPress dashboard, scroll down to the bottom of the page, and click on Disconnect from WordPress.com
Then, you’ll be redirected WordPress setup page, when you can immediately click on Connect to WordPress.com button and then Authorize Jetpack to authorize the Jetpack connection to reconnect to WordPress.com. All your Jetpack settings will stay the same.
If disconnecting and reconnecting doesn’t resolve the problem or is not an option, you can hide the notice with the following CSS trick:
.jp-identity-crisis {
   display: none;
}
You can add the above custom CSS through adding the action to “admin_head” hook, or through “admin_enqueue_scripts” hook via wp_enqueue_style function.
LK is a technology writer for Tech Journey with background of system and network administrator. He has be documenting his experiences in digital and technology world for over 15 years.
Connect with LK through Tech Journey on Facebook, Twitter or Google+.


")
 in Jetpack Mobile Theme of WordPress")


")
 in Jetpack Mobile Theme of WordPress")
