Turn On & Enable AutoRecover (AutoSave) in Office Word / Excel / PowerPoint to Recover Unsaved Files
When using Microsoft Office application component products such as Word, Excel, PowerPoint and Publisher, you may accidentally lost the working file you’re typing or designing at if the computer suddenly interrupted and shut down due to power electricity outage, or the program accidentally crashed and terminated.
If you have not save the working copy of the file, you will be in much despair. Luckily Microsoft Office programs provides AutoRecovery feature (the feature exists in most versions of Office beginning from Office XP, including Office 2003, Office 2007, Office 2010, Office 2013, Office 2016 or later), which able to perform auto save of the document periodically, and auto recover the unsaved lost file when you re-open the Office program that was not terminated or closed properly.
However, when the power resumes, and when you run the Office program again, it may not prompt you AutoRecover pane to automatically recover the working file to its last working state before power failure or application termination. And thus you no longer can open or access the file as it was corrupted or you never save it. To avoid such situation from happening, even though AutoRecover is enabled by default, but it’s good to ensure that AutoRecover feature is turned on and enabled for all MS Office products, especially in Word and Excel.
To enable and turn of AutoRecover feature, simply follow the following steps. Note that the “Options” menu location is different in different versions of Office. In Office XP or Office 2003 or Publisher 2007, the program has the typical menu bar, while beginning from Office 20007 for Word, Excel and PowerPoint and Office 2010 for Publisher, the programs use new Microsoft Office Fluent ribbon interface.
In Office XP and Office 2003 click on Tools on menu bar, then select Options.
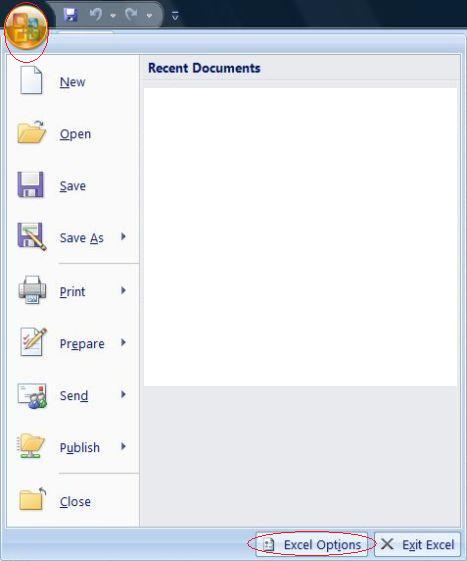
For Office 2007, click on Office button on the top left corner, the select Word Options, Excel Options or PowerPoint Options, depends on which application you’re running.
In Office 2010, Office 2013 and Office 2016, click or tap on File -> Options.
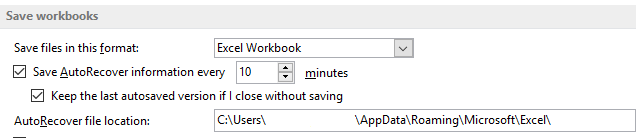
Click on the Save tab.
Tick the check box of Save AutoRecover information every x minutes or Save AutoRecover info every: x minutes (for older version of Office).
The set the frequency setting (x as in sentence above) in minutes to any number you like, typically 10 minutes or 5 minutes.
If newer versions of Office, you can also set if you want Office to keep the last autosaved version if I close without saving, which can be useful if you accidentally close a file before realizing you need the changes been made after all.
Click on OK button.
AutoRecovery feature is now enabled. However, be warned that do not ever rely on Auto Recovery feature to recover your file in case of accident. It’s notorious for unreliability. The best practice is to click the Save button or press Ctrl-S key sequence regularly.
LK is a technology writer for Tech Journey with background of system and network administrator. He has be documenting his experiences in digital and technology world for over 15 years.
Connect with LK through Tech Journey on Facebook, Twitter or Google+.