Upgrade Windows 7 & Windows 8.1 to Windows 10 via ISO Image or ESD File
Microsoft has signed off Windows 10 Build 10240 as the final RTM build. Though many has doubted that the build 10240 is the RTM build as Microsoft has not confirmed it, but the build should be the one loaded and installed on new PCs, tablets, hybrids and other devices from OEM manufacturers that go on sale on Windows 10 launch day.
As such, it’s pretty ‘safe’ to install and upgrade current Windows 7 and Windows 8.1 to Windows 10, using Windows 10 Build 10240. Even though the build version of Windows 10 released via Windows Update to general public on July 29th may be different, especially the minor version, it’s widely believed that Microsoft will publish ZDP (Zero Day Patch) or updates rollup to bring Windows 10 RTM up to date, in view of Windows as a service commitment from Microsoft, which promise free unlimited updates for the lifetime of the device.
Windows 10 is free upgrade for Windows 7, Windows 8 and Windows 8.1 systems, except those belongs to businesses. Microsoft allows eligible systems to reserve Windows 10 free upgrade to automatically download the installation files and prompt users when upgrade is ready to install on or after July 29th. But if you cannot wait, you can perform the upgrade now, through the ISO image made from ESD archive that Microsoft is flighting to Windows Insiders.
Note
You must at Windows 7 SP1 or Windows 8.1 in order to entitle to free upgrade to Windows 10. If you’re using Windows 8, upgrade to Windows 8.1 for free.
Though recommended, it’s not necessary to install all available updates from Windows Update before upgrading.
Only non-Enterprise editions of Windows 7 and Windows 8.1 are entitled to free upgrade.
Check out Windows 10 upgrade path to know which edition of Windows 10, either Windows 10 Home or Windows 10 Pro, that your system is entitled to upgrade to. If you attempt to upgrade directly to Windows 10 Pro from Windows 7 or Windows 8.1 edition that supposedly upgrade to Windows 10 Home / Core edition, the following error is returned:
Windows 10 installation has failed
Cross-SKU upgrades (for example, Windows 7 N to Windows 10; Windows 7 K to Windows 10 N) are not supported. And upgrades from Windows 7 or Windows 8.1 to Windows N, Windows K, Windows KN, or Windows E are not supported. If you attempt to do so, you’ll be asked to enter a product key when initializing the setup, which cannot be skipped.
You MUST upgrade to Windows 10 from currently activated Windows 7 or Windows 8.1 to record your device hardware ID with Microsoft BEFORE performing clean install Windows 10 and stay activated under free upgrade license to start afresh. Using free upgrade offer to perform a clean install on first attempt will result in deactivation.
After upgrading to Windows 10, Microsoft is using the following generic product keys ending with:
Windows 10 Home – BX7FG-H8Q99
Windows 10 Pro – 9MPGT-3V66T
When installing Windows 10 from clean state on the same device which has upgraded to and activated in Windows 10, no product key is necessary (skip the entering of product key during setup). Windows will automatically activated itself.
If you attempt to use the generic product key to install Windows 10 on NEW device, it won’t activate.
In Windows 10, Windows Product Activation is no longer controlled by SPP (Software Protection Platform). Instead, it’s handled by Client License Service (ClipSVC), with tokens.dat file stored in C:\ProgramData\Microsoft\Windows\ClipSVC\. But like SPP, the hardware ID in the device license can be changed (such as changing hard disk). As long as it’s still with in tolerance with the device hardware ID, the device continues to be permanently activated.
The tutorial shows the guide on how to install and upgrade to Windows 10 through an ISO image, which could also be burned to DVD or wrote to bootable USB flash drive, or through ESD archive file downloaded from Windows Update.
Download the ISO image of Windows 10 RTM (Build 10240), e.g. en_windows_10_pro_10240_x64_dvd.iso or en_windows_10_pro_10240_x86_dvd.iso.
Alternatively, you can download the ESD of Windows 10 RTM (Build 10240) online (e.g. 10240.16384.150709-1700.th1_clientpro_ret_x64fre_en-us.esd or 10240.16384.150709-1700.th1_clientpro_ret_x86fre_en-us.esd, 10240.16384.150709-1700.th1_clientcore_ret_x64fre_en-us.esd or 10240.16384.150709-1700.th1_clientcore_ret_x86fre_en-us.esd), or by setting up a Windows 10 Insider Preview OS on a virtual machine using builds such as Windows 10 Build 10162 or Windows 10 Build 10166, and allow Windows Update to download the Windows 10 Build 10240 ESD which normally stores in C:\$Windows.~BT hidden folder.
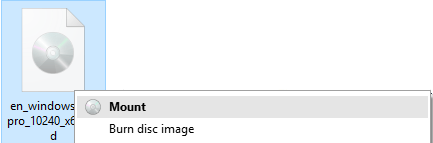
In Windows 7, uses a third party tool to mount the ISO, or burn the ISO image to disc or USB flash drive, or extract the content of the ISO to a folder with file archiver such as 7-Zip, WinRAR, WinZip, PowerArchiver and etc.
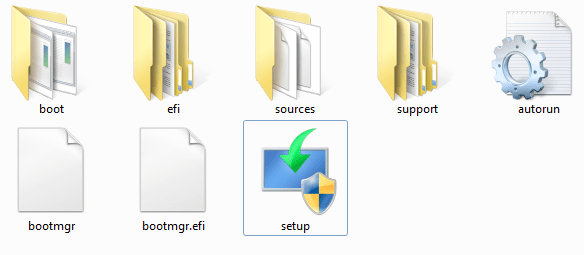
Execute the setup.exe program in the ISO image.
Select Download and install updates (recommended) or Not right now on whether to get the latest updates of Windows 10, then hit Next button.
Note: This step may take a while if you choose to download and install updates.
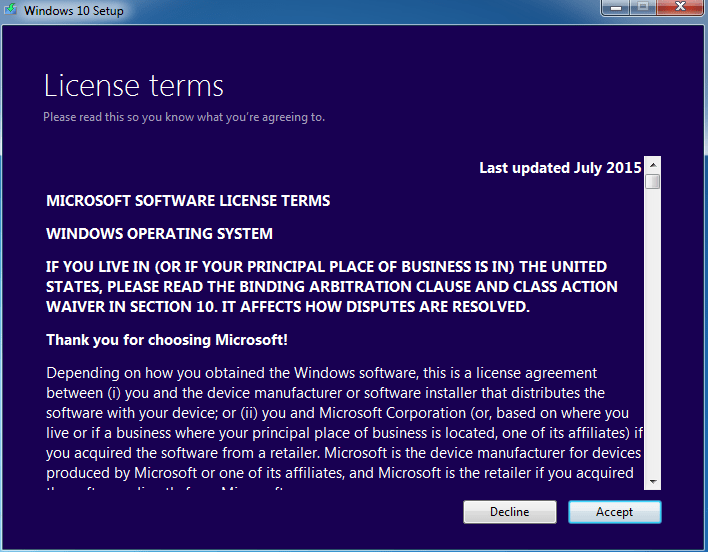
Accept the license terms.
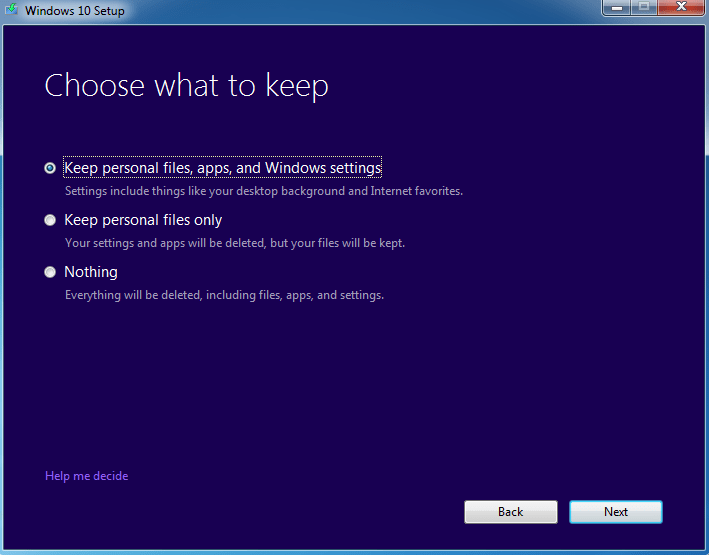
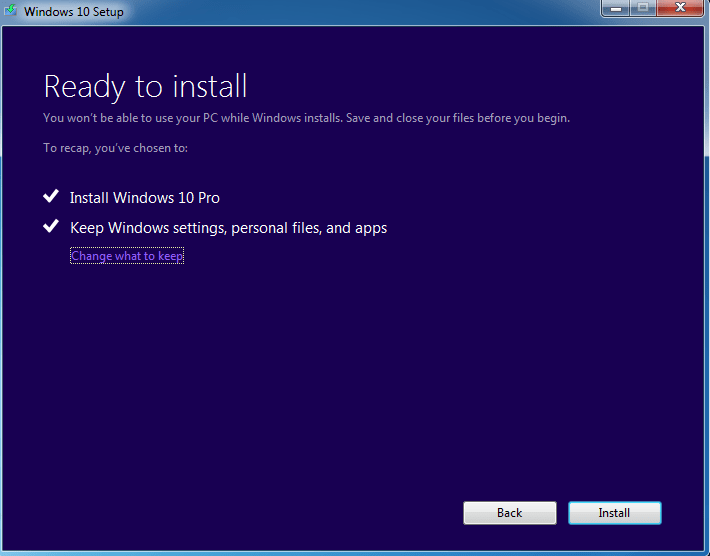
Choose what you want to keep:
Keep personal files, apps and Windows settings – Recommended.
Keep personal files only – Settings and apps will be deleted.
Nothing – Everything will be deleted, including files, apps and settings.
To ensure that your system’s hardware ID is properly registered for free Windows 10 upgrade license through device license with Microsoft, choose to keep everything. Hit Next button to continue.
Confirm the start of upgrading process to Windows 10 by hitting Install button.
Wait for the “Installing Windows 10” process to complete. The PC may restart several times during the update.
Once installation and upgrading to Windows 10 is completed, you will be greeted with a “Hi there, welcome back!” screen.
Click or tap Next if you want to continue using the user account shown on the screen. Else, click or tap on I’m not <user name> link.
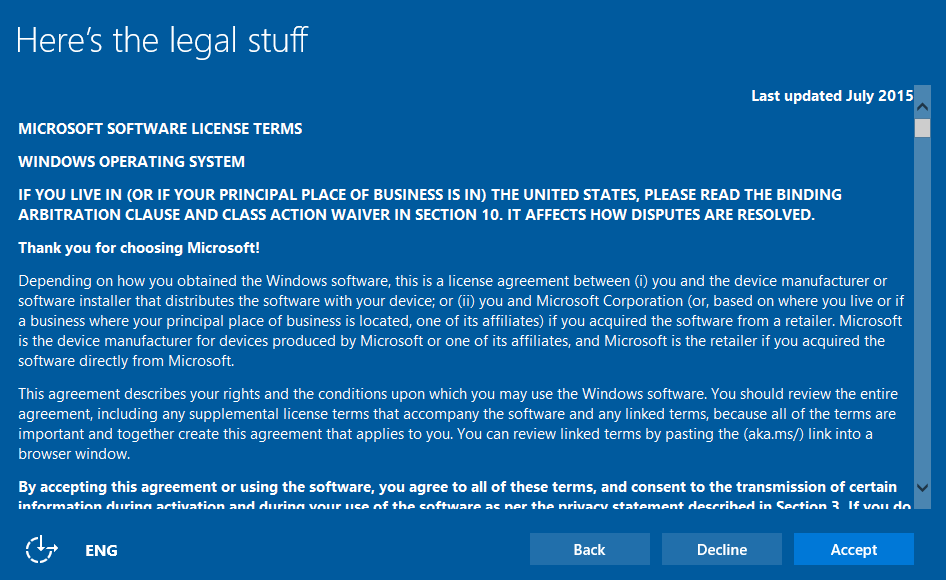
If you’re presented with “here’s the legal stuff” screen with Microsoft Software License Terms, select Accept to continue.
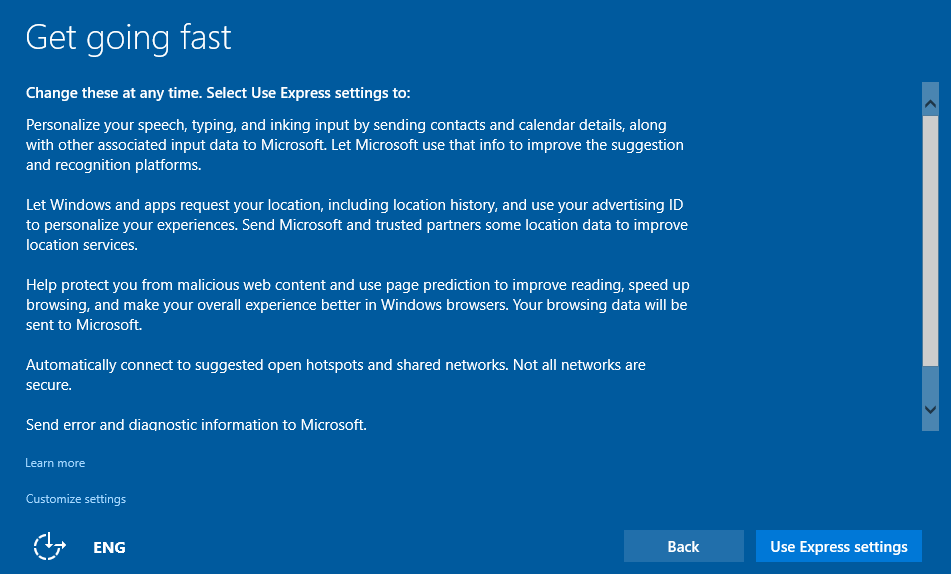
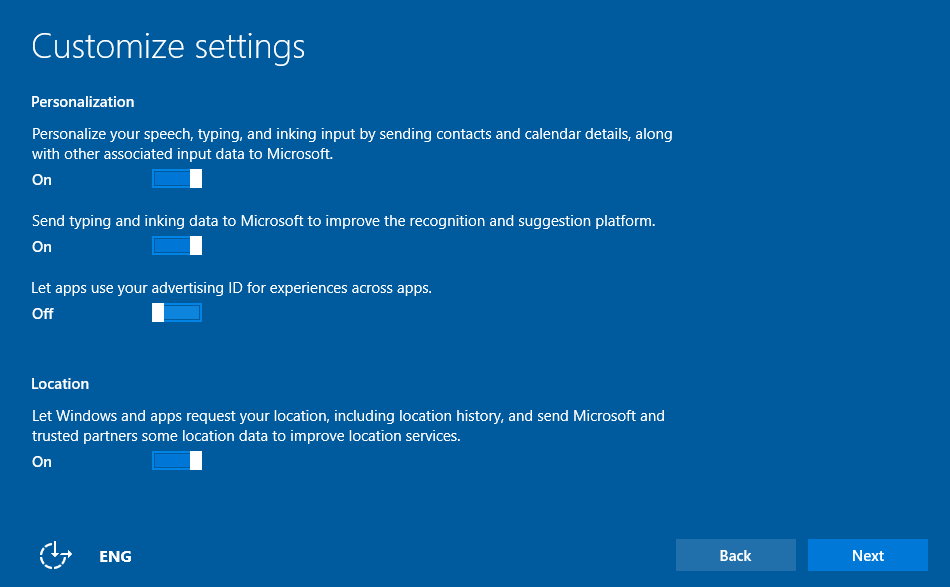
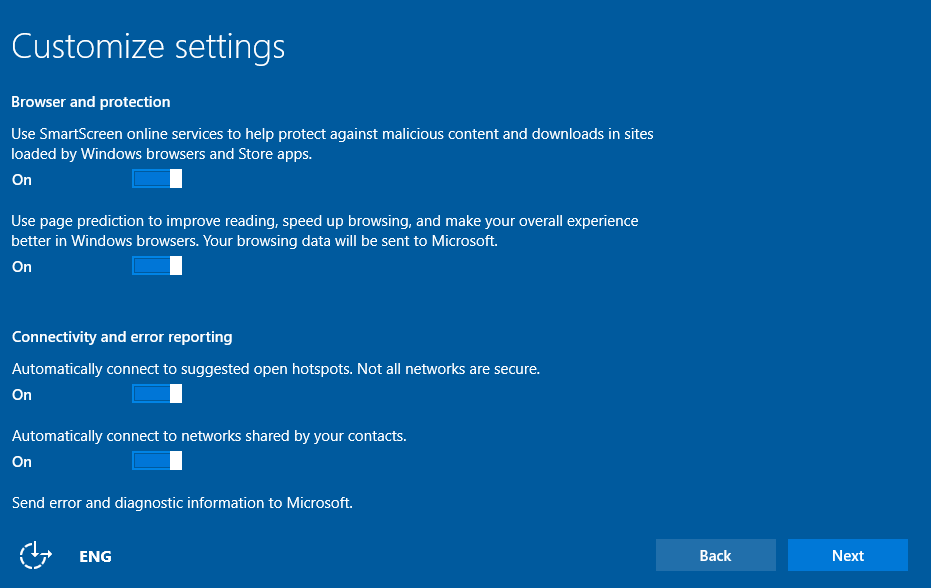
In “Get going fast” screen, select Use Express settings if you want to use Microsoft’s recommended settings. Else, click or tab Customize settings to manually configure each options.
The options which can be customized and personalized including personalize your speech, typing, and inking input by sending contacts and calendar details, along with other associated input to Microsoft; send typing and inking date to Microsoft to improve the recognition and suggestion platform; let apps use your advertising ID for experience across apps; let Windows and apps request your location, including location history, and send Microsoft and trusted partners some location data to improve location services.
And also use SmartScreen online services to help protect against malicious contents and downloads in sites loaded by Windows browsers and Store apps; use page prediction to improve reading, speed up browsing, and make your overall experience better in Windows browsers; automatically connect to suggested open hotspots; automatically connect to network shared by your contacts; send error and diagnostic information to Microsoft.
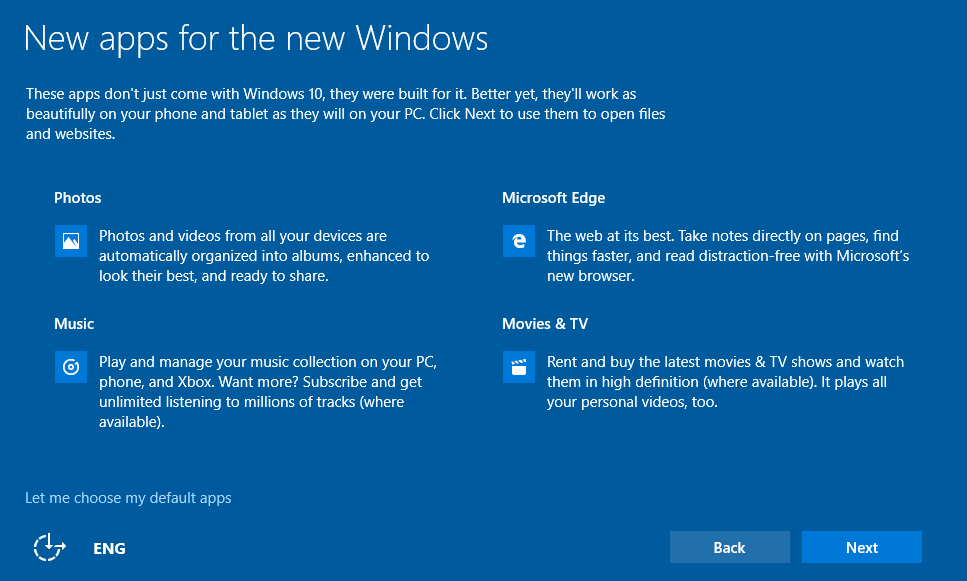
Photos, Music, Microsoft Edge, Movies and TV universal app will be made as the default app for the media or files they supported. If you prefer this arrangement, click or tap on Next button.
If you want to maintain your existing default apps for all or selected file types, click or tap on Let me choose my default apps, and unselect (untick) the apps that you don’t want make default. Then, hit Next.
Wait for a while, and you should be back up at Windows 10.
LK is a technology writer for Tech Journey with background of system and network administrator. He has be documenting his experiences in digital and technology world for over 15 years.
Connect with LK through Tech Journey on Facebook, Twitter or Google+.


 is Build 10240 of TH1 Branch")

 x86 & x64 ISO for OEM Leaked for Download")
 is Official Fall November Update Release")

