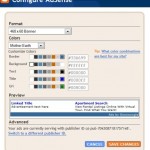
The guide below provides tips and tricks on where should the parsed HTML ad code (after replacing several special characters with HTML code) be pasted and inserted in the Blogger XML-based template. In essence, the steps are exactly the same when positioning the ad next to and within post content, except that the text string to search (where to paste the ad code) is different.
Wrap Around Next to the Post and Float to Left or Right
Refer to this guide.
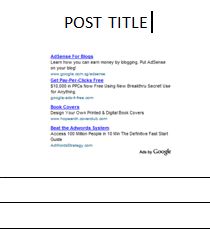
After Post Title Before Post Contents
The ad banner will appear below post title but above and before the start of blog content. It’s actually exactly the same with tip above to wrap AdSense around the post, except that now the ad unit does not float but instead been place at the center without wrapping, and thus pushing content below it.
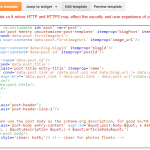
Search for the line of:
<p><data:post.body/></p>
Paste the parsed Google AdSense ad code inside <center><div> and </div></center> right before the above line so that it looks like below after change:
    <div class='post-header-line-1'/>

    <div class='post-body entry-content'>
    <center><div>[parsed Google AdSense ad code]</div></center>
      <p><data:post.body/></p>
      <div style='clear: both;'/> <!-- clear for photos floats -->
    </div>
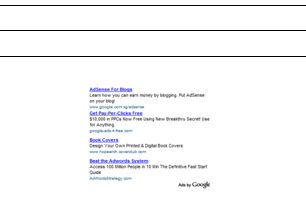
After Post Content Before Footer Credits
The Google AdSense ad unit or other display ads banner will appear at the bottom of the blog post, after the end of content and just before the ending credits, within inside the post.
Search for:
<div class='post-footer'>
Paste the parsed Google AdSense ad code inside <div> and </div> right before the above line so that it looks like below after change:
    <div class='post-body entry-content'>
      <p><data:post.body/></p>
      <div style='clear: both;'/> <!-- clear for photos floats -->
    </div>
    <div>[parsed Google AdSense ad code]</div>
    <div class='post-footer'>
To center the ads unit, add the wrapper of <center> and </center>.
After Footer Credits
Unlike the above where the ad unit appear before the credit right after post content, this time the ad unit will appear after the credit for the post is displayed. The easiest way to achieve the task is using built-in feature of “Show Ads Between Posts” in Blogger. Turn off and enable the feature will display ads between posts when view in home, index or category pages, and also at the bottom most part when view in single individual post page view.
If you plan to use non-AdSense ads or want to add in custom channels, you have to manually edit the template HTML to add in the ad code. In this case, search for:
<p class='post-footer-line post-footer-line-3'/>
Paste the parsed Google AdSense ad code inside <div> and </div> right after the above line so that it looks like below after change:
      <p class='post-footer-line post-footer-line-3'/>
      <div>[parsed Google AdSense ad code]</div>
    </div>
  </div>
</b:includable>
To center the ads unit, add the wrapper of <center> and </center>.
Between Posts
To display ads between posts is pretty much similar to the above where ads appear after post footer. So just follow tips above.
