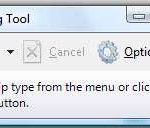
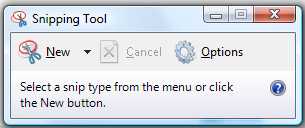
Snipping Tool is simple and very easy to use to capture screenshoots. It basically has only 3 or 4 command buttons:
- New and with options of capture areas of Free-form Snip, Rectangular Snip, Windows Snip and Full-screen Snip)
- Delay of up to 5 seconds before a screenshot is captured (feature added in Windows 10).
- Cancel which enabled automatically once you start a capturing process.
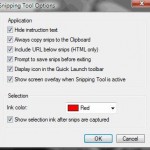
- Options.
One of the most important improvement over basic Print Screen capture prior in Windows XP and older OS is that users can choose any portion or area of the screen to capture, including any open windows. Previously, it’s restricted to either entire screen or active window.
How to Open Snipping Tool in Windows
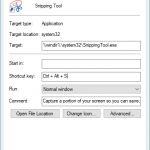
To run snipping tool, simply click on Start button, then go to All Programs -> Accessories or All apps -> Windows Accessories, and click on Snipping Tool shortcut.
From Windows 8 onward, pin Snipping Tool to Start Menu/Screen or Taskbar for quick access.
How to Use Snipping Tool in Windows
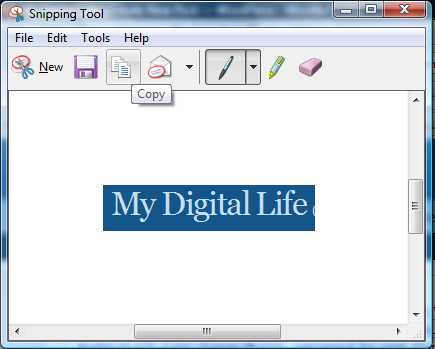
- To start a new screen print capture, simply run Snipping Tool, it will automatically start in snipping mode. If not, or to capture again, click on New button on Snipping Tool toolbar or select File -> New Snip.
- While in capturing mode, drag the cursor, draw a line or select a window that you want to capture. Full screen capture will be automatically done.
- Once capturing is done, the Snipping Tool edit window will open and display the screen capture image. If you’re not satisfy with the result, simply click on New Snip button. You can also choose other options, such as Save Snip in JPEG, PNG, GIF or Single File HTML (MHT) format, Copy Snip to clipboard, Send Snip to email recipient, uses Pen which can be customized its thickness, color, chisel or round tip type to draw and mark on the snip, uses yellow Highlighter to highlight certain text or area, or uses Eraser to delete and remove away the Pen or Highlighter marking.
All the command buttons on the toolbar in Snipping Tool edit window can be accessed from the drop-down menu bar too.

