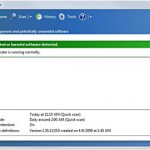
Windows Defender which was previously known as Microsoft AntiSpyware is an anti-spyware utility that built-in in Windwso operating system beginning from Windows Vista to detect, prevent, remove and quarantine spywares. Although it’s packaged with the operating system, and thus free of charge (or already been added into cost), not all users will need Windows Defender. Unfortunately there is no clear-cut way to remove or uninstall Windows Defender in Windows. Use the trick and hack below to disable Windows Defender in a way that as is Windows Defender is been uninstalled or removed.
The most easy way to to uninstall or remove Windows Defender in Windows (since you can’t actually uninstall it) is by disabling and turning off Windows Defender. Windows Defender provides an graphical user interface (GUI) to easily stop using Windows Defender in real-time protection checking, and disable and turn off Windows Defender service.
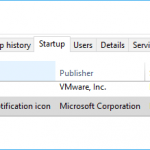
Note that a lot of guides have asked to disable Windows Defender service via Services in Control Panel and uncheck the startup item in System Configuration (MSConfig) in order to turn off Windows Defender and prevent it from starting up. This is unnecessary, and it’s not a recommended way as any misstep will cause error message (explained below).
Disable Windows Defender in Windows Vista
- Run Windows Defender from Start Menu or Start Search.
- Click on Tools button.
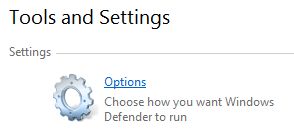
- Click on Options link under “Tools and Settings” section.
- Scroll down the “Options” page, and uncheck the check boxes of the following two settings:
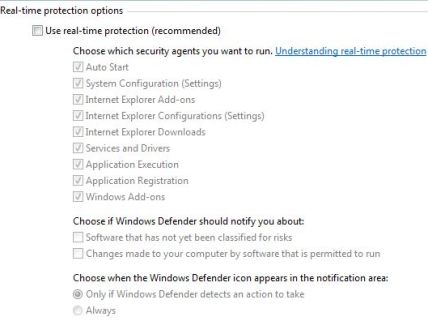
Use real-time protection (recommended) under “Real-time protection options”
Use Windows Defender under “Administrator options”
Note that both options MUST be unchecked for the Windows Defender service in Windows Vista to be completely stopped. Else, only real-time protection is disabled.
- Click on Save button.
Turn Off Windows Defender in Windows 7
- Run Windows Defender from Start Menu or Start Search.
- Click on Tools button.
- Click on Options link under “Tools and Settings” section.
- Go to Real-time protection section.
- Uncheck the check box of Use real-time protection (recommended).
- Go to Administrator tab.
- Uncheck the check box for Use this program.
- Click on Save button.
Turn Off Windows Defender in Windows 8 and Windows 8.1
- Run Windows Defender from Start Menu or Start Search.
- Go to Settings tab.
- Go to Real-time protection section.
- Ucheck the check box for Turn on real-time protection (recommended).
- Click on Save changes button.
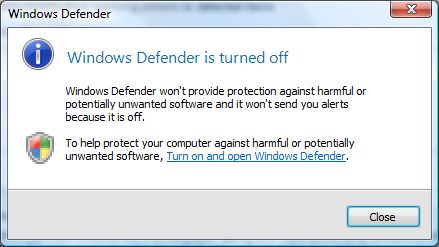
Once Windows Defender is turned off, a “Windows Defender is turned off” dialog message will appear, confirming that Windows Defender no longer runs. Once the Windows Defender is disabled, it’s sort of been uninstalled too, as any attempt to run the program will bring up “Windows Defender is turned off dialog window and unable to proceed to Windows Defender main window anymore.
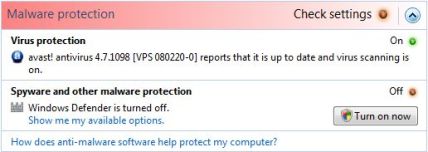
Beside, Windows Security Center will display a red alert icon in notification area (system tray) which warns users about stop functioning of spyware and other malware protection software.
Install your favorite anti-spyware software to remove this alert, or follow this disable alert hack.
Beside, in Services of Control Panel, the Windows Defender service is automatically stopped, although the Startup Type is still set to Automatic. Do not try to manually stop and disable the Windows Defender service from Services panel, as it will cause the error message of “Application failed to initialized: 0×800106ba. A problem caused this program’s service to stop. To start the service, restart your computer or search Help and Support for how to start a service manually.
To re-enable (i.e. reinstall) Windows Defender in Windows, run Windows Defender from Start Menu and turn it on again when prompted.
Update: How to Turn Off Windows Defender in Windows 10

