Search feature in Windows 10 is essential to locate files stored locally, synced from cloud storages or on networked drives and shared folders. In addition, search allows users to quickly find the apps and settings that otherwise may be buried under troves of data within Windows 10 operating system.
However, when Windows 10 Search fails to find any matching results, it will automatically searches in Bing search engine for the keywords entered, and display a preview of search results from Bing as best matched search results besides offering you a shortcut to open results in web browser.
If you always use the Start Menu and Search to find only local items, or you simply don’t like to see any web contents provided Windows 10 Search feature, you can disable the Bing Search results on Start Screen.
How to Disable the Bing Web Search in Windows Search of Windows 10
- Open Registry Editor (regedit).
- Hit Yes if User Account Control prompts to ask for permission to allow Registry Editor to make changes to the system.
- In the Registry Editor, navigate to the following registry key:
HKEY_CURRENT_USER\Software\Microsoft\Windows\CurrentVersion\Search - Right click on Search and select New -> DWORD (32-bit) Value.
- Name the new value as BingSearchEnabled and set its value data to 0.
- Under the same “Saerch” key, locate a value named CortanaConsent, and set its value to 0. If the value of “CortanaConsent” is not found, create it using the same steps for “BingSearchEnabled”.
- Close the Registry Editor.
- Restart the computer.
You can copy and save the following code in a text file ending in .reg file extension, and execute it to automatically apply the required registry keys to disable Bing Search integration with Windows Search to system registry:
[HKEY_CURRENT_USER\Software\Microsoft\Windows\CurrentVersion\Search]
"CortanaConsent"=dword:00000000
"BingSearchEnabled"=dword:00000000

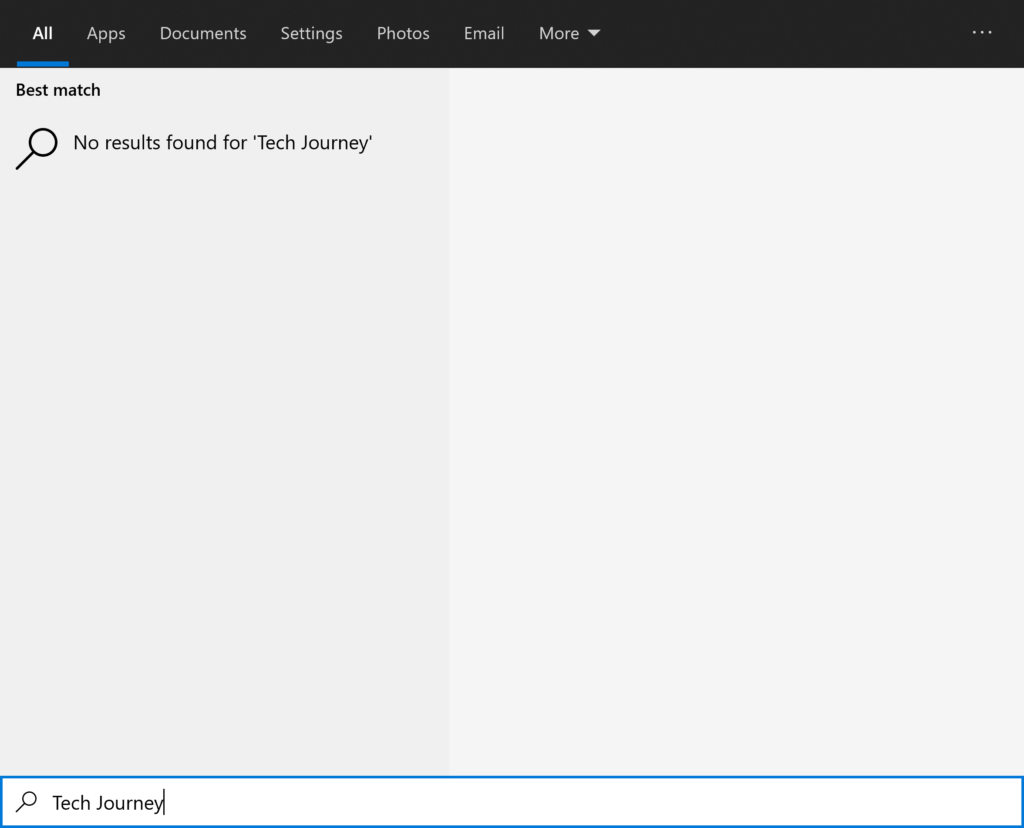
Now, Windows Search will find only local content, and show no results found if the search terms have no matched items stored locally.


